I’ve finished another hat made from my FREE Vintage Derby Hat pattern and have some pictures and a brief update to go along with 🙂
First things first – you can find this pattern totally for free on my blog here, or you can purchase the portable, printable, ad-free version in my Etsy Shop , Ko-fi Shop, or Ravelry Pattern Store by clicking the links! As an independent crochet designer I make my income almost entirely from paid pattern purchases, so if you like this design, consider buying the PDF copy to support me <3 But I love to offer free things too so if you can’t or don’t want to buy, just enjoy the free version and don’t forget to tag me on Instagram showing me what you make 😀 I’d love to see!

I recently updated the PDF copy to include my new direct contact e-mail address, regina(at)moralefiber.blog. I will be moving all my e-mail listings over to this new contact this year, which means updating all the PDF’s to reflect this address – the old contact address, moralefiber@yahoo.com, will remain in use through 2022 but will be deactivated by the end of the year – so head’s up! E-mail is a great way to contact me to ask questions, but you can direct message me on any of my social media platforms and I’ll do my best to help in a timely manner <3

For this new bowler, I paired Caron Simply Soft Party (2 skeins) with 1 skein of an old label-less donation yarn. That makes 2 #4 weight strands paired together with a 5 mm hook AND waistcoat stitching (click link for free tutorial) for this hat – I forgot how SLOW this project turns out to be! However, the tight stitching combined with doubled up yarn strands makes a hat that isn’t floppy or shapeless at all but keeps a smooth, tailored profile and sits firmly on the head like a real structured derby hat should. So in my opinion, the patience pays off.


I think one of my favorite puzzles to work as a crochet designer is hunting for subtle characteristics in stitch composition or yarn quality that will help bring about the “thing-ness” of what I’m trying to make. Waistcoat stitch, a technique that uses single crochet worked into the center of the single crochet stitch below rather than the top two loops, produces a firm, tight fabric with a look that is almost like a knit stitch. This makes it a great stitch for structured hats in my opinion; especially when combined with a very tight tension achieved by a large yarn-thickness to hook-size ratio, you can make a sturdy hat with a smooth surface that’s thick, durable, and resilient to smooshing. I used this same strategy again last year when I needed a crochet technique that would allow me to get a very tall standing height on my Wizard Hat pattern!
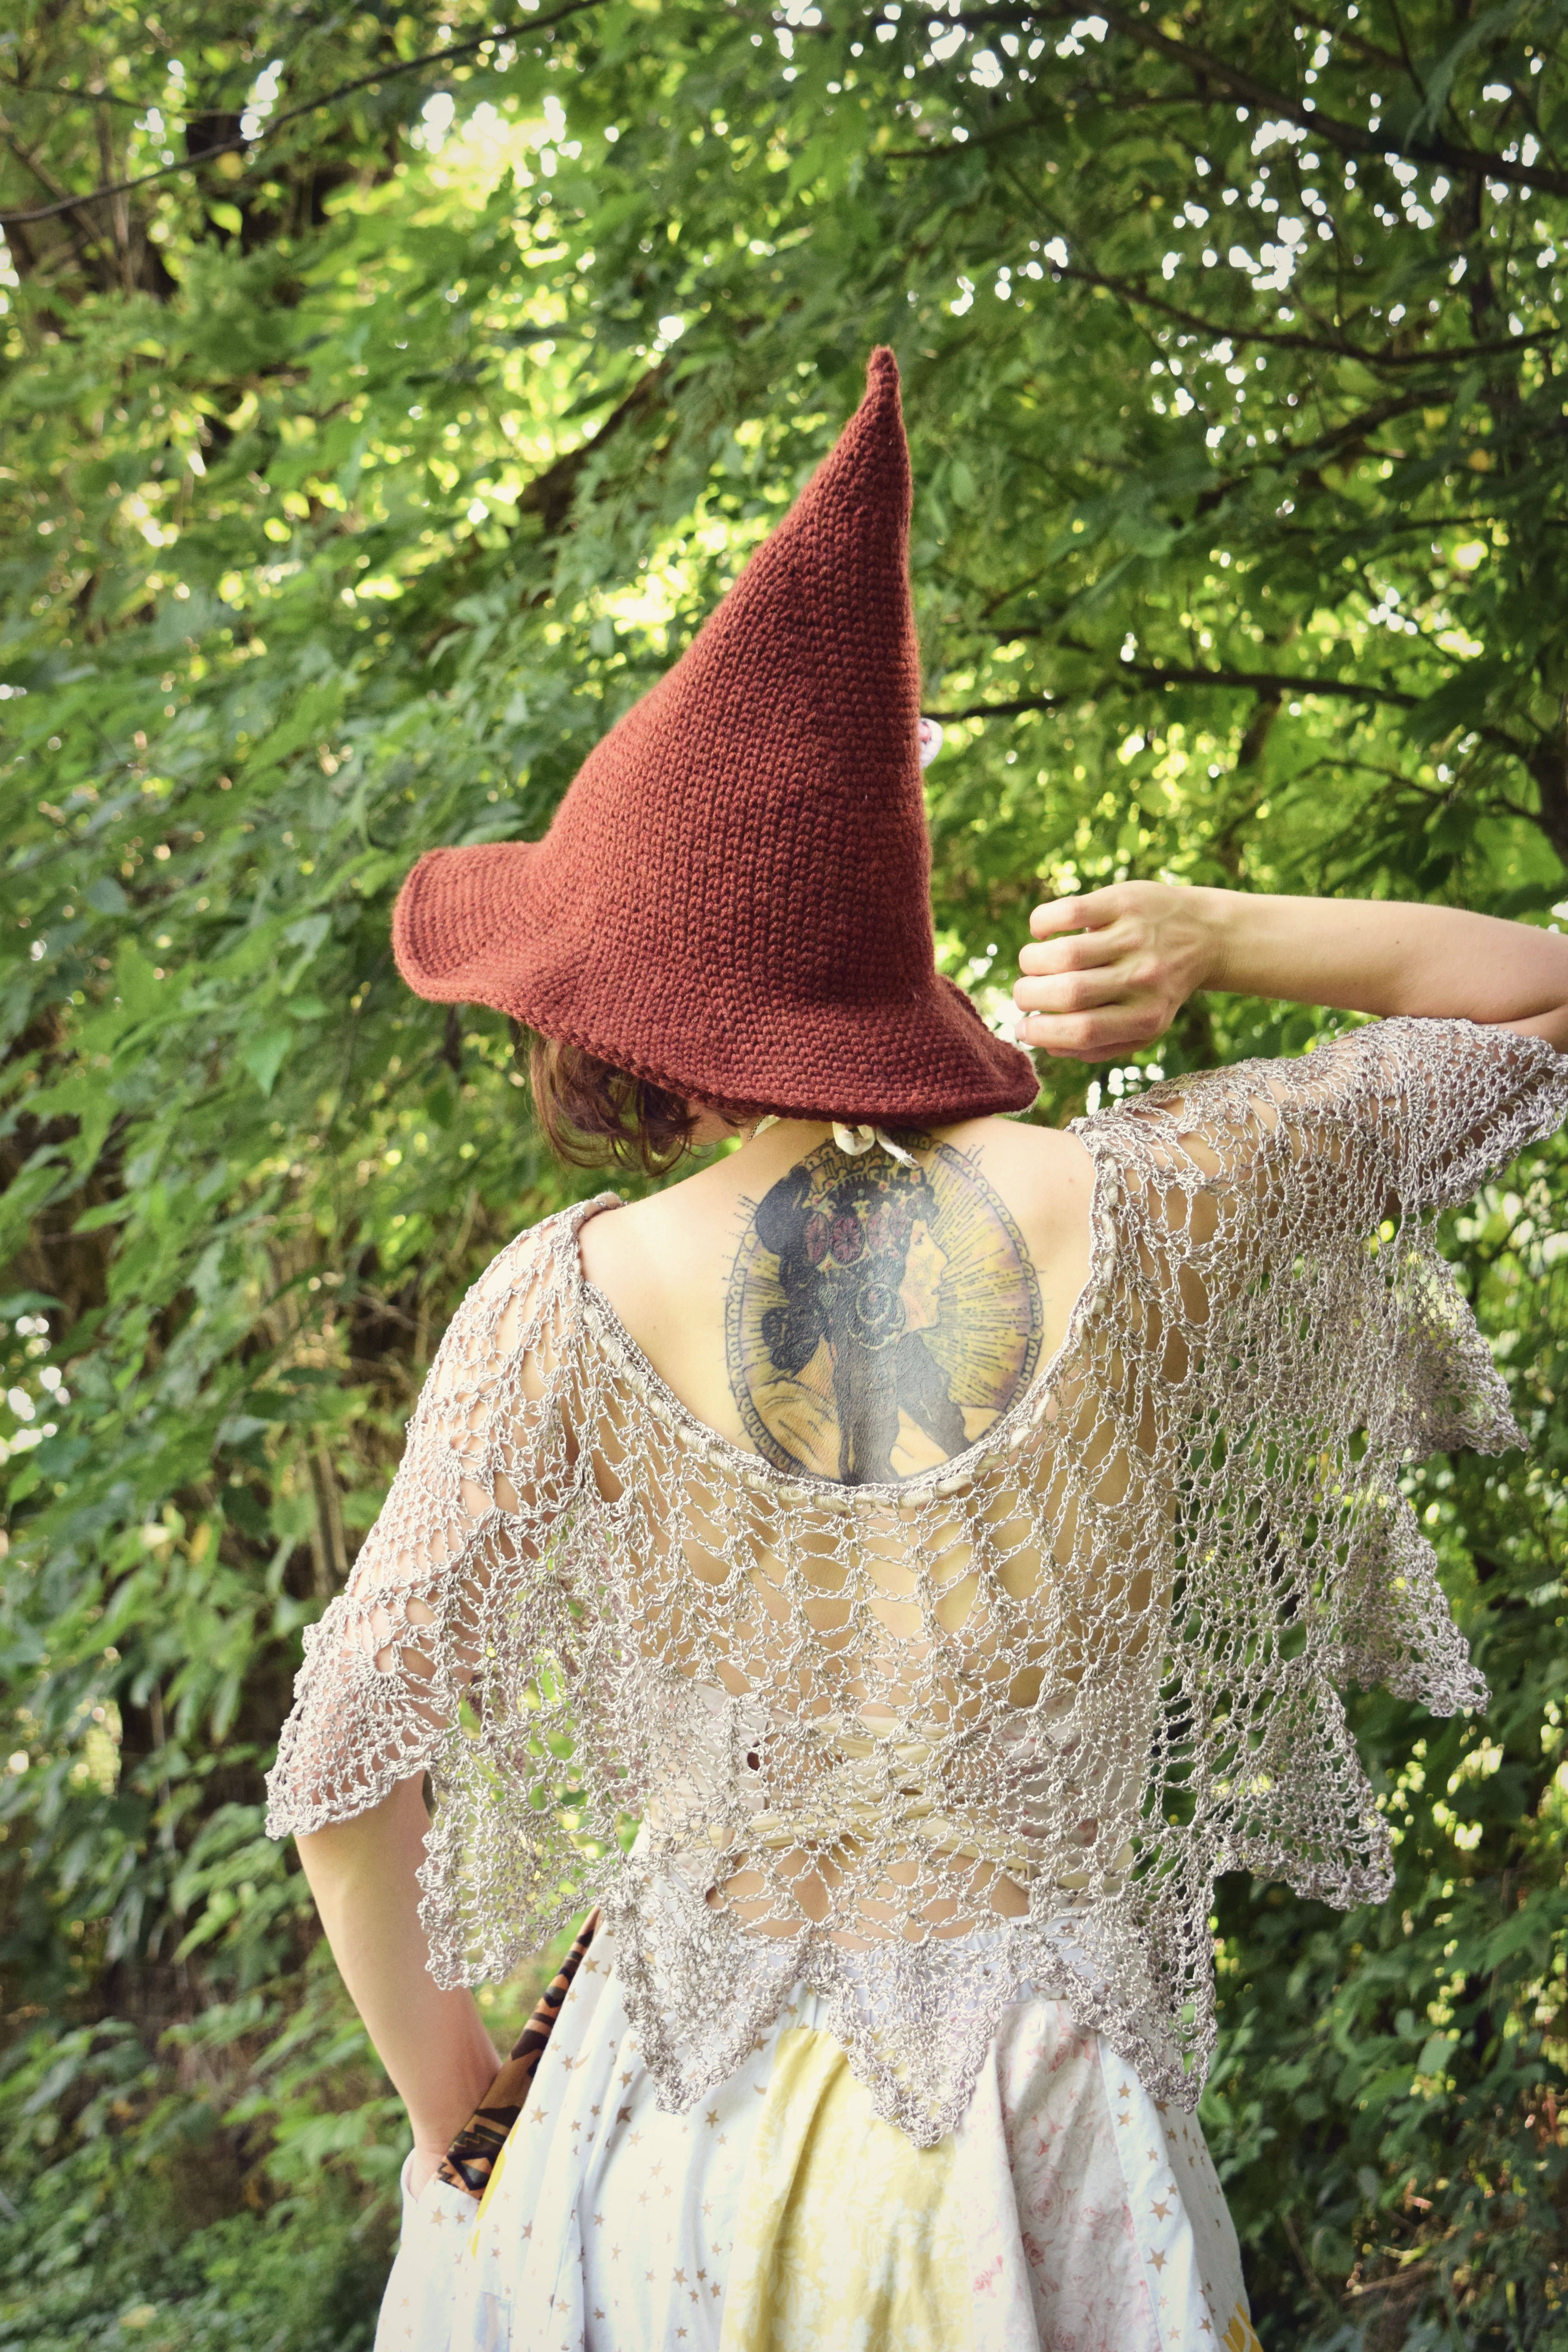
To digress just a little bit about the Wizard Hat – several people that tried out the Wizard Hat messaged me to ask about the first few rounds – they were having difficulty getting the stitches in – finding where they went and getting the hook in that spot while working with a tiny 3-stitch circle (in waistcoat stitch!!!) is indeed challenging 🙂 And beginner crocheters may find themselves frustrated. Fortunately, you can totally skip the 3-stitch rounds on that hat and start from the 6-stitch rounds that occur immediately after to help alleviate the extreme tension in the tippy top of the point that makes the first few rounds so difficult!

Anyway, that’s the type of thing I love to help with so please direct message me if you need any advice or help working my patterns 🙂 that’s what I’m here for.
Getting past my own frustrations was sometimes difficult for me during working this version of the Derby, just because I was already dealing with some health issues and my body didn’t want the extra strain of working this stitch for too long. I had to take it literally one or two rounds at a time, which I am NOT used to doing! Honestly, it was a good lesson in slowing down that I probably needed.

Lastly, my little vintage outfit here is shabby and mori kei inspired again, matched with the thrifted collar and gloves which are real handmade antique crochet. I do tend to want to adopt all crochet I find in the thrift stores 😉 As if I needed more!

Thanks for visiting, and please check out my free tutorials page if you want to pick up more handy tips and tricks from yours truly 🙂
-MF
